Search This Blog

Monday, November 30, 2009

Best Ever Meat Loaf


Let's face it: most people don't find meat loaf all that exciting. This recipe has changed all of that for my family. With a couple of exceptions, we all look forward to this dinner. It's a good winter meal because it's hearty. We have actually served this to guests with very favorable results.

There are a variety of ways to serve it. Bob likes to dress up the meatloaf by putting it on a thick-sliced piece of French bread, grilled with butter and parmesan cheese on it. He then drizzles a little barbecue sauce over the top. At other times, we serve it with a side of mashed potatoes and gravy for true comfort food. It's also a substantial meal on its own with a salad or side of mixed vegetables.

This recipe makes quite a lot. We make it in our industrial-size loaf pan that is roughly equivalent to two standard loaf pans. Our family eats about three quarters of this in one meal. If you're cooking for fewer people, you  may want to reduce the recipe. But be sure to make enough so that you have leftovers for meatloaf sandwiches!
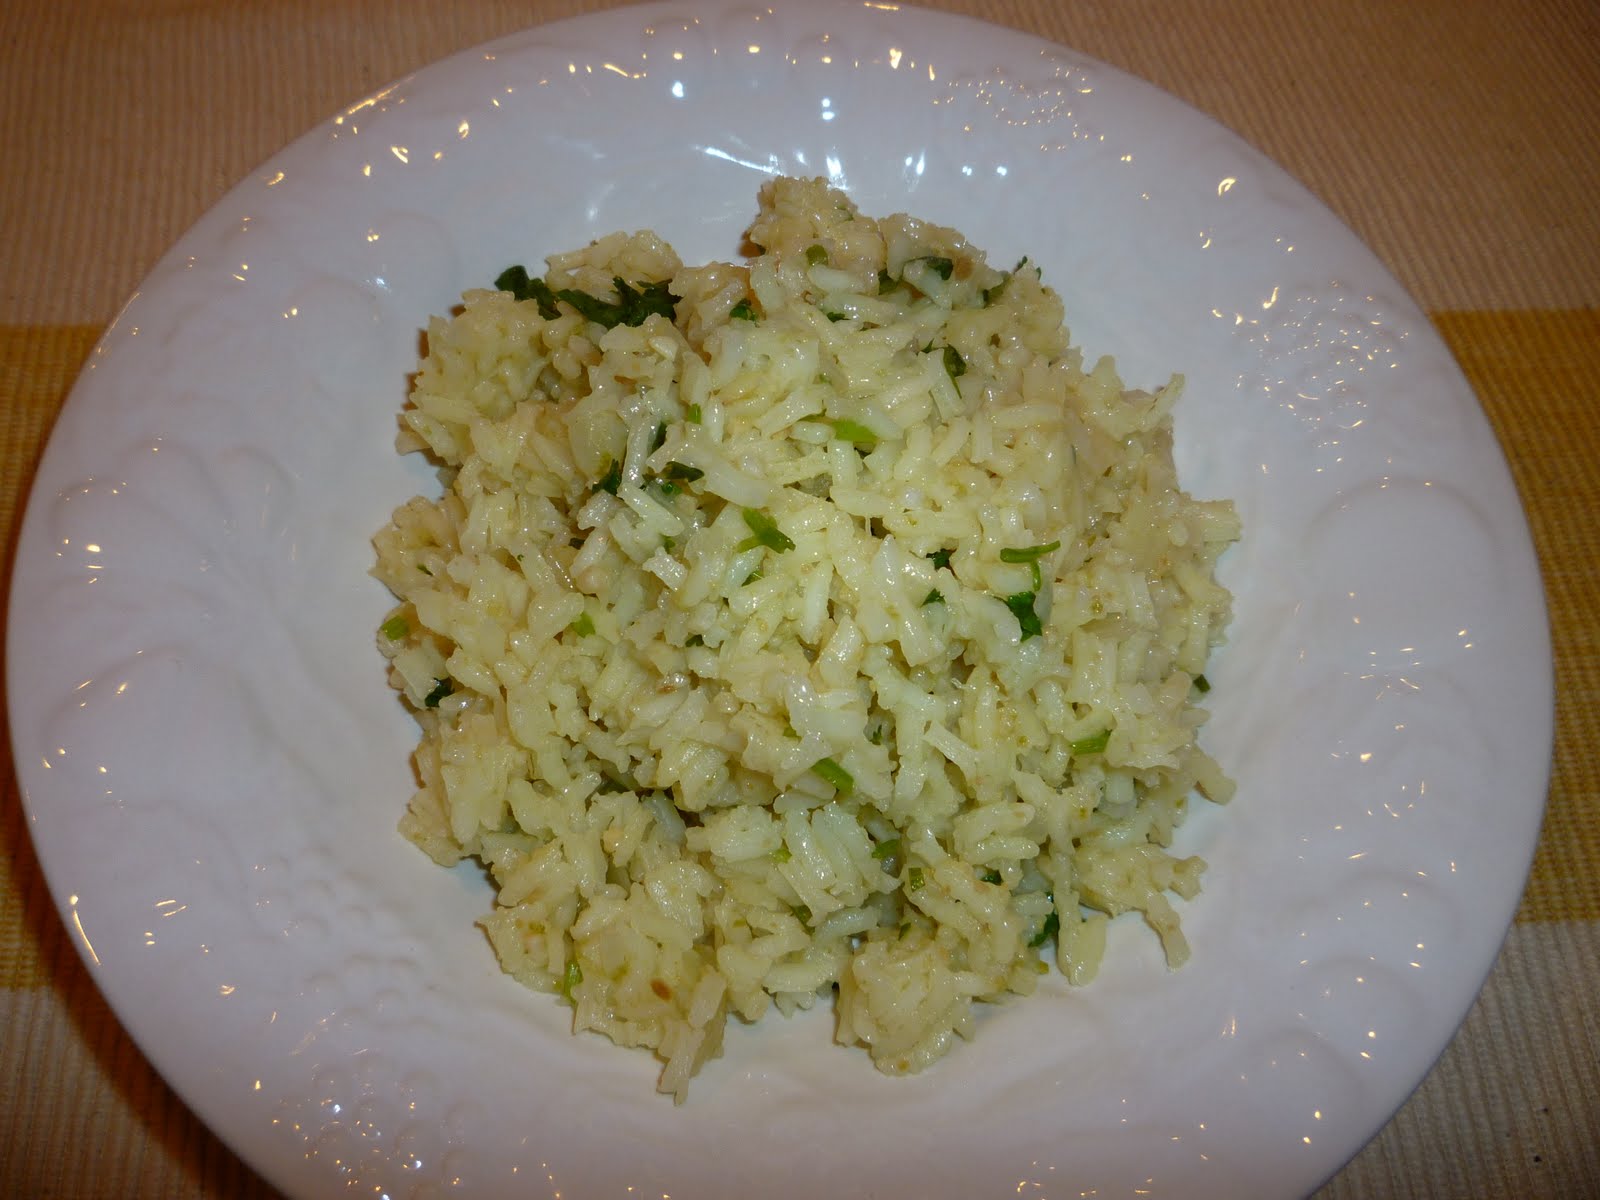
Best Ever Meatloaf

3 Tbs. butter
¾ cup onion, finely chopped
¾ cup green onion, finely chopped
½ cup carrots, finely chopped
¼ cup celery, finely chopped
¼ cup red bell pepper, minced
¼ cup green bell pepper, minced
2 teaspoons minced garlic
1 teaspoon freshly ground black pepper
½ teaspoon ground white pepper
¼ teaspoon cayenne pepper
1 teaspoon ground cumin
½ teaspoon ground nutmeg
3 eggs, well beaten
½ cup ketchup
½ cup half-and-half
2 pounds lean ground beef chuck
12 ounces sausage meat (we like Jimmy Dean breakfast sausage)
¾ cup fine fresh bread crumbs
Preheat oven to 375 degrees. Melt the butter in a heavy skillet, and add the onion, scallions, carrots, celery, bell peppers and garlic. Cook until the moisture from the vegetables has evaporated, about 10 minutes.
Combine the black pepper, white pepper, cayenne, cumin, nutmeg and eggs in a mixing bowl, and beat well. Add the ketchup and half and half. Blend thoroughly. Add the ground beef, sausage and bread crumbs to the egg mixture. Then add the chilled vegetables and mix thoroughly with your hands.

Place the mixture evenly in a large loaf pan. Place the pan in the oven and bake for 60 minutes or until brown all the way through. Remove from oven; let rest for 20 minutes before slicing and serving.

Friday, November 27, 2009

Original Pantry Coleslaw


For several years now, Bob has been telling me about the coleslaw from the Original Pantry, a restaurant in downtown Los Angeles that he frequented when he lived in southern California. He recounts that they serve coleslaw like Mexican restaurants serve chips and salsa--everyone gets it as an appetizer when they sit down.

For several years I have used an alternative coleslaw recipe that was more tangy than this one. The other night I discovered a head of cabbage in the fridge and wondered what I could do with it. I decided to try the Original Pantry recipe. When I asked the kids if they noticed any difference between this coleslaw and our usual coleslaw, one of them responded, "Yes. This one tastes good." So there you have the family editorial on my (apparently former) coleslaw recipe.

This recipe really does taste good, and has a creamy, luxurious feeling to it given that one of the ingredients is, well, cream. It's great as a salad for a picnic, or the perfect complement to barbecue (see my pulled pork recipe, for example). The original recipe calls for cabbage as the only vegetable. I added a bit of carrot because I happened to have a peeled carrot right in front of me, and I also like the color it adds.

Original Pantry Coleslaw
3/4 cup mayonnaise
3 tablespoons sugar
1 1/2 tablespoons white wine vinegar
1/3 cup oil
1/8 teaspoon garlic powder
1/8 teaspoon onion powder
1/8 teaspoon dry mustard
1/8 teaspoon celery salt
1 tablespoon lemon juice
1/2 cup half-and-half
1/4 teaspoon salt
1 head cabbage, finely shredded (I have tried using both a food processor and a salad shooter to achieve the appropriate texture, but they both turn the cabbage into a sort of mush. I've discovered that with a high quality kitchen knife, it's actually faster to just chop it).
1 grated carrot, optional

Blend together mayonnaise, sugar, vinegar, and oil. Add garlic and onion powders, mustard, celery salt, pepper, lemon juice, half-and-half, and salt. Stir until smooth.

Pour dressing over cabbage in large bowl and toss until cabbage is well coated.

Wednesday, November 25, 2009

Egg Salad Sandwiches


This post is more of a meal idea than it is an actual recipe. This is a Sunday afternoon favorite at our house. It's an easy way to make everyone happy. Eggs have been comparatively cheap in all of the Thanksgiving sales, so we made up a batch this week.

Although some people like to keep their egg salad as little more than eggs and salad dressing or mayonnaise, we really like to put the salad in our egg salad sandwiches. Although we generally fall in the mayonnaise camp on the big mayonnaise vs. Miracle Whip debate (see here), this is one recipe that is really better with whipped salad dressing--the tanginess and sweetness are a great complement to the more neutral flavor of the eggs. So pick and choose from the ingredient possibilities below; we usually use the ones we happen to have on hand.

Also, we usually try to find fancy breads to complement our specialty sandwiches. But in this case I have to say that there's nothing like plain, white wonder-type bread from the grocery store.

Egg Salad Sandwiches

5-6 hard boiled eggs, peeled and diced

Choose from the following ingredients. Use 1-2 tablespoons of each and dice them small.

Celery
Yellow, red or green onions
pickles or relish (we especially like bread and butter pickles)
olives

Dressing:
1/4 cup Miracle Whip (use mayonnaise if you must, but you'll be missing out)
1-2 teaspoons yellow mustard
1 teaspoon pickle juice or cider vinegar
1/8 teaspoon celery seed
salt and pepper to taste

Thoroughly mix dressing ingredients. Add to salad ingredients and stir until coated. Spread on white, sliced bread. Serves about 8.


Monday, November 23, 2009

Cilantro Lime Rice


A year or so ago the host of our dinner group planned to serve fish tacos. She asked us to try to find an alternative to traditional Mexican rice to bring as a side dish, preferably a sweet or lime rice. We tried four or five different sweet rice recipes, all of which were miserable failures.

A few months ago my friend Amanda sent this recipe, which I've modified slightly and continue to make with never a bad batch. Tonight when I made it to go with Tacos de Machaca, the kids thought it was unusually good. This is a knock off of the rice recipes served at local fresh Mex restaurants like Cafe Rio.

Cilantro-Lime Rice

1 cup uncooked long-grain rice
1 teaspoon vegetable oil
1 small onion, diced
2 cloves garlic, minced
1 teaspoon lime zest
2 ½ cups chicken broth
2 tablespoons freshly squeezed lime juice
3 tablespoons fresh chopped cilantro

Melt butter or margarine in a large saucepan. Saute onion until translucent; add garlic for the last couple of minutes. Add rice and lime zest. Saute rice until it turns opaque. Add the chicken broth mixed with lime juice and bring to a boil. Cover and cook 25-30 minutes on the lowest heat setting until rice is tender and liquid is absorbed.

Remove from heat and stir in the cilantro. Place a double layer of paper towel under the lid. Let it sit for five to ten minutes.

Friday, November 20, 2009

Carrot Cake


For someone who claims not to be crazy about desserts, I realize that I have been on a bit of a dessert binge recently (at least as far as blog posts are concerned). Perhaps I will break down the "Cookies and desserts" category on my blog into smaller headings so that we can all feel better about my eating habits.

Last week, Anna, Jenny and I went to harvest the last of our garden (see more about it here). We dug up tons of carrots and talked the whole time about all the things we could make with them. We all agreed that carrot cake was our first choice (Anna isn't a fan of cooked carrots). I have been using the Betty Crocker recipe, but haven't been all that happy with the results. I went looking around and found this, which I have modified a bit from the original recipe. It's good.

Carrot Cake
4 eggs
1 1/4 cups vegetable oil
1 cup white sugar
1 cup brown sugar
2 teaspoons vanilla
2 cups all-purpose flour
2 teaspoons baking soda
2 teaspoons baking powder
1/2 teaspoon salt
2 teaspoons cinnamon
1/2 teaspoon nutmeg
3 cups grated carrots
1 cup chopped pecans

Preheat oven to 350 degrees. Spray a 9 x 13 cake pan with cooking spray.

In a large bowl, beat together eggs, oil, white sugar, and vanilla. Mix in flour, baking soda, baking powder, salt and cinnamon. Stir in carrots. Fold in pecans. Pour into the prepared pan.

Bake in the preheated oven for 40 to 50 minutes or until a toothpick inserted into the center of the cake comes out clean. When it's cooled, top with cream cheese frosting. We tried the recipe below, which wasn't as stiff as our usual recipe. I liked it, though, because it tasted great and was less sweet than my usual version.

Cream Cheese Frosting
1/2 cup butter, softened
8 ounces cream cheese, softened
3 1/2 cups powdered sugar
1 teaspoon vanilla

In a medium bowl, combine butter, cream cheese, powdered sugar and vanilla. Beat until the mixture is smooth and creamy. Frost the cooled cake. Note: This recipe makes enough to frost the cake after it has been removed from the pan. If you put all of this on a cake that is still in the pan, prepare to be sick.

Wednesday, November 18, 2009

Seven (or Eight or Nine) Layer Salad


This is a classic salad made better by a novel dressing. The classic name is Seven Layer salad, implying, of course, that there are seven layers. The version featured in the photo was made by my twelve-year-old daughter Sara. It's a pretty salad, and has endless variations. For example, we can never settle on just seven layers.

We've started using a ranch-flavored dressing instead of the traditional layer of mayonnaise (yuck). We like this salad a lot.

Seven (or Eight or Nine) Layer Salad

Layer as many of the following foods as you like, as you have on hand, or as you think will fit in the bowl. We generally use a clear glass bowl for the complete visual effect.

1 head romaine lettuce
2-3 shredded carrots
1 bunch green onion, chopped (red onion works great, too)
1/2 cup chopped celery
1/2 cup chopped green pepper
2 diced Roma tomatoes
1 thinly sliced cucumber
2-3 hard boiled eggs, sliced
1/4 pound bacon, cooked and crumbled
1/2 cup grated cheddar cheese (I like to use the large side of the grater)

We've found lettuce works well as a base, and that peas or eggs work well as the last layer before the dressing. I like to alternate colors, usually alternating green and non-green layers. After the top vegetable layer is in place, spread the dressing (see recipe below) over the top. Then garnish with bacon and cheese.

Dressing
1 cup mayonnaise
1 cup sour cream
1 package dry ranch dressing mix (7/8 ounce)
Mix the ingredients thoroughly. Spread over top vegetable layer of the salad.

There are two ways to serve this: you can toss it once it's on the table and everyone has had a chance to see how pretty it is. Or you can serve it by taking a cross section of the salad (rather than taking from the top).

Monday, November 16, 2009

Cheese Ball


When I unveiled this cheese ball at a dinner party a few nights ago, someone commented that it must be holiday time. I guess nothing says "Christmas" like a cheese ball, even though I've been known to make this in the summer because we like it so much. It's simple and delicious, and looks a lot fancier than it really is. This is one recipe that I think I can take full credit for, even though I've experimented by looking at other cheeseball recipes through the years. This has become our standard.

As with many recipes, the possibilities for variations abound. I've found that sharp cheese really does make a difference. But green peppers work just as well as red peppers (although they aren't as festively pretty at Christmas time), and red or yellow onions can easily be substituted for the green onions if you prefer or don't have green onions on hand. And walnuts and pecans work equally well for the nuts on the outside.

Kathy's Cheese Ball
8 ounces cream cheese, softened to room temperature
1 cup shredded sharp cheddar cheese
1/3 cup finely chopped green onions
1/3 cup finely chopped red bell pepper
1/2 teaspoon granulated garlic
2 teaspoons Worchestershire sauce
1/2 cup chopped walnuts or pecans

Combine cheeses, onions, pepper, granulated garlic and Worchestershire sauce in a large bowl. I find it easiest to do this by hand, wearing a latex glove. When all ingredients are thoroughly mixed, shape the mixture into a ball. Place the chopped nuts on a plate and roll the ball in the nuts until all outside surfaces are covered. Refrigerate until about 30 minutes before serving time; then take it out of the fridge so that it will be soft enough to spread. We've found Wheat Thins to be the cracker to serve with a cheese ball because they're sturdy enough to not crack under the pressure of the cheese and also have a great complementary flavor.

Friday, November 13, 2009

Picnic Cake


I don't remember my Grandma making this cake very often, but I remember making it with her at least once. She didn't learn to drive until she was well into her sixties, after my grandfather passed away. So I'm quite certain that the two of us (and maybe a couple of my sisters or some cousins) walked to the grocery store to get the ingredients that she was missing. I expected not to like this cake because dates sounded unappealing to me, but I never even knew they were there. When I re-discovered this recipe a few years ago, it was like spending that day with Grandma all over again.

This is now a family favorite. It's a particularly unhealthy dessert (I've actually cut down the fat a bit from the original recipe), so we try to eat it as an occasional treat. For some real indulgence, try warming it up and topping it with a spoonful of whipped cream.

Picnic Cake
1 cup pitted, chopped dates
1 cup boiling water
1 tsp. soda

Boil water, then pour over dates. Stir in baking soda and let mixture cool.

8 tablespoons butter, softened to room temperature
1/2 cup brown sugar
1/2 cup white sugar
1 egg
1 1/2 cups flour
1/2 cup chopped nuts (either walnuts or pecans)
1 teaspoon vanilla
1/2 teaspoon salt

Mix above ingredients well. Add the date mixture to this batter and fold all together. Pour into a greased 9" x 13" pan. Sprinkle with the following:

1 cup semi-sweet chocolate chips
1/2 cup brown sugar
1/2 cup chopped nuts
8 tablespoons butter, melted

Bake at 350 degrees for 35 - 45 minutes.

Wednesday, November 11, 2009

Celery Salad


The recipe for this salad was published in Cooking Light magazine a few years ago. I discovered it when my friend Karen made it for dinner when I visited her in Minneapolis. I've found that it doesn't appeal to every palate, especailly some of the palates that live at my house. But I love the crunchiness and combination of flavors. I made it for my lunch group last week, partly because I had remarkable amounts of celery.

The recipe calls for dried cherries. I substituted dried cranberries this time and liked them almost as well as the cherries I've used before. I've never thought of this as a holiday salad before because I've always made it in the summer, but the red and green colors (plus the Christmas music playing in the background) made it seem like a perfect fit for Thanksgiving or Christmas dinner.

Celery Salad
1 1/2 cups sliced celery
1 1/3 cups dried sweet cherries
1 1/3 cups frozen green peas, thawed
1/4 cup chopped pecans
1/4 cup plus two tablespoons fat-free mayonnaise
1/4 cup plus two talespoons plain low-fat yogurt
4 1/2 teaspoons fresh lemon juice
1/2 teaspoon salt
1/2 teaspoon black pepper

Combine celery, cherries, peas and pecans in a large bowl. Mix remaining ingredients in a jar with a lid and shake until well mixed. Pour the dressing over the other ingredients and mix until everything is well coated.

Monday, November 9, 2009

Jalapeno Jelly


It's taken me a few months to decide when to post this recipe (and I ultimately decided more by default than by logic). I make this jelly in September or so when jalapenos and red bell peppers are abundantly available. It's good any time, and I actually discovered it at a party at my sister's house during harvest season. But the lovely colors make it a perfect holiday treat, and even a nice holiday gift. Since the jars are sealed, it will keep for at least a year after you make it. It's a wonderful combination of hot and sweet. Our favorite way to eat it is with a little bit of cream cheese on a Wheat Thin (for some reason they are the perfect complement for this particular spread).

The jars almost always seal on their own if you pour the jelly in when it's very hot. If they happen not to seal, you can process them in a steam bath for about 10 minutes and they should seal with no problem.

Jalapeno Jelly
1 cup red bell pepper, cut in strips
1 1/2 cups cider vinegar
1/3 cup fresh quartered jalapeno peppers, seeds removed (or you can leave the seeds in if you like it a little hotter)
5 cups sugar
1 pouch (3 ounce) Certo liquid fruit pectin (the powdered kind doesn't work with this recipe)

Combine peppers and vinegar in a food processor. Process to desired size; I like the pieces a little smaller than 1/4 inch. Combine peppers and vinegar with sugar in a large saucepan and bring to a boil. Boil for five minutes. Remove from heat. Cool for two minutes, then mix in pectin. Pour into sterilized half-pint jars and fasten lids. If the pepper pieces aren't evenly distributed, invert jars a few times after 30 minutes to distribute evenly before jelly sets.

This recipe makes about six cups.

Saturday, November 7, 2009

Teriyaki


This is Bob's signature dish. He learned to love plate lunch when he was growing up in southern California and hung out with a Hawaiian friend; later he found a wonderful teriyaki sauce recipe. We make this often for guests. The teriyaki recipe makes a remarkable quantity of sauce, but it stores easiliy (doesn't require refrigeration) and then you can use it as a marinade any time you want. Or the recipe can also be reduced.

We use thinly sliced pork or beef - steak from the Mexican store is perfect--or chicken thighs (breasts tend to be too dry). Pork steaks work well and are very inexpensive. When we're cooking for a crowd, we usually prepare a couple of different kinds of meat for the sake of variety.

Teryaki Sauce

½ gallon soy sauce
2 cups water
10 cups sugar (now you know why it tastes so good)
2 Tbs. granulated garlic
1 Tbs. ground ginger

Combine ingredients in a large pot and stir together over low heat until sugar is dissolved. Use several cups to marinate meat (pork steaks, chicken thighs, beef, etc.) for 2 to 3 hours before grilling. After grilling the meat, chop it into bite-sized pieces. Serve with short grain or Japanese rice; pour additional sauce on rice topped with chopped meat. Makes one gallon.

Thursday, November 5, 2009

Potstickers


I suppose potsticker is the Enligsh name for these little delicacies; they are known in Japan as gyoza, in China as jyaudz, and in Korea as mandoo. Whatever you choose to call them, they are fabulous, and easier to make than you might think.

For several years we were consumers of the Costco frozen variety. Then a few years ago our Japanese neighbor, Yumi, came over to teach us how to cook a variety of Japanese foods. We've been making these ever since.

Potstickers
1 lb. ground pork
2 T. soy sauce
1 ½ cups shredded Napa cabbage
½ t. hot chili oil, or to taste
2 green onions, diced ½ t. sesame oil
4 t. fresh ginger (2 t. dry)
4 T. vegetable oil for frying
1 egg lightly beaten
1 pkg. round potsticker wrappers

In a medium bowl, combine the ground pork, shredded cabbage, green onion, ginger, egg, soy sauce, chili oil and sesame oil.

Lay a wrapper in front of you. Place a teaspoon of filling in the middle of the wrapper. Wet all the edges with water. Fold the sides up to form a semicircle, and then pinch the edges firmly to seal. We like to pleat the top edge after we've sealed it to make it prettier. Continue with the rest of the wrappers until the filling is gone.


To cook, heat 1 tablespoon oil in a heavy frying pan over medium-high to high heat. Add 12 - 15 of the potstickers and cook for 2 minutes, or until golden brown on the bottom. Turn the potstickers. Add 1/2 cup of water to the pan. Cover the pan and cook until the water is absorbed (5 to 7 minutes). Repeat with the remainder of the potstickers.

Potsticker Sauce

1/4 c. white vinegar
1/4 c. soy sauce
1 tsp. sesame oil
3 Tbs. sugar
1 tsp. ginger
Mix all ingredients together. Serve over potstickers.

Monday, November 2, 2009

Microwave Carmel Popcorn


Normally I shy away from recipes with the word "microwave" in their names because they sound sort of, well, cheap. But this is a wonderful snack that became a minor addiction when I was first out of school and living on my own. I can still eat myself sick on it if I'm not careful. It is easy, and is made with ingredients that are usually around the house. At our house, even those who don't care for carmel popcorn like this.

Microwave Carmel Popcorn
4 quarts popped popcorn
1 cube butter
1/2 cup brown sugar
1 cup miniature marshmallows

Cook the butter for one minute in the microwave. Stir in the brown sugar and cook for another minute. Stir in the marshmallows and cook for another minute. Stir. Cook for another 30 seconds and then stir until smooth. Pour over popped popcorn and stir until popcorn is evenly coated.